How to Use Textures in Affinity Designer: A Step-by-Step Guide
Affinity designer is the alternative to Illustrator. It is light and easy to use. Here we learn how to use textures in affinity designer. In short, this feature will allow you to know how to mask the texture into the original image.
However, designers use textures affinity designer fills to add depth, dimension, and visual interest to their designs, helping them to stand out in a crowded marketplace.
By mastering this technique, designers can take their design skills to the next level and create truly stunning works of art. It is not at all complicated, thanks to Affinity Designer, and follows these simple steps.
From Where to Get Your Textures?
There are numerous sources from which you can get your textures. Some of them are mentioned below:
- You can get texture from the web. You can pay for extra high-quality textures.
- You can click a picture from your phone or camera.
- This is one of my favorites, collect your drawing materials and draw your own texture on pure white paper.
It is not compulsory but, always better to have a black-and-white pattern of a texture as it can be changed into any other color. Once you get the source of your textures, then focus on how to add texture in the affinity designer tool. For that, continue reading the blog.
How to Add Texture in an Affinity Designer?
Just follow these simple steps to mask a texture to your picture, logo, etc.
Step 1:
Open your picture on which you want to add affinity designer text effects.
Step 2:
Select all the layers from the layers row, then go to the Layers tab for the menu bar and group all the layers. Layers > Group.
Step 3:
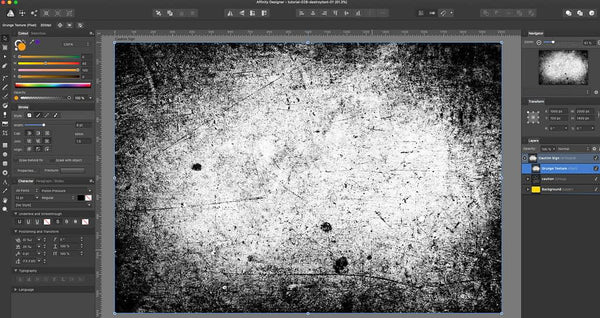
After grouping all the layers. You will find that all the layers will merge into a single layer. Open your texture image in the Affinity Designer and place it over the original image.
Step 4:
Right-click on the texture image and select Rasterize to Mask. From this action, you will notice that your image has been texturized. You can perform different actions in the textures affinity designer window like rotating, cropping, and moving to get the perfect textured image in your gallery.
Step 5:
Right-click on the texture layer and select Mask Below to get the texture over the image.
Step 6:
Further, you can change the color of your texture image by selecting any color element like a rectangle, placing it below the new image, right-clicking on the color layer, and selecting Rasterize to Mask.
Learning how to use textures in affinity design is a valuable skill for designers looking to enhance the depth and visual appeal of their designs.
The process is relatively straightforward and can be accomplished by following a few simple steps, including selecting the object you wish to texture fill, choosing a texture fill from the available options, and adjusting the settings to achieve the desired effect. You can also use the professional affinity presets bundle from Artixty to add more effects to your photo.
Leave a comment